The access schedules are to be used when instructors want their students to only work during certain hours of the day. For example, some instructors only want their students to work for one hour a day during a specific class period. With our schedule feature this is very easy to accomplish.
When in Teacher Manager, select Access Schedules in the main navigation menu on the left hand side. A table appear displaying all schedules that have been created (it may be empty if no schedules have been created). You can either edit a schedule by double clicking on it, or clicking on the button “Create New Schedule” to start a new one.
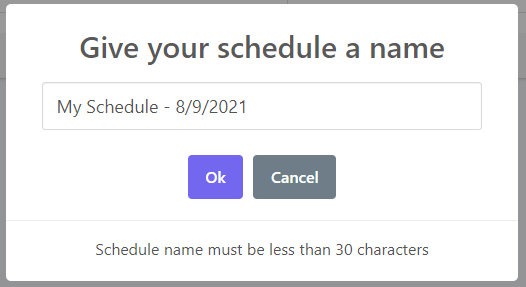
Step 1: Give the Schedule a name
It is important to be specific when naming your schedule. Doing so will help you remember the specifics of a schedule when trying to assign it to a student or class. That way you don’t need to open the schedule and remind yourself of what the settings are.
Step 2: Editing the New Schedule
Timezone settings: Please make sure the timezone displayed is your timezone. If you select an incorrect timezone it could throw off the entire access schedule. The clock shown below the timezone is the current time in the selected timezone.
Can students change their time? – The server is the timekeeper, not the students. Even if a student updates their system settings to a different time or timezone, it will not affect how schedules work. If the server tells the student it isn’t time to work, they will not be able to log in and work.
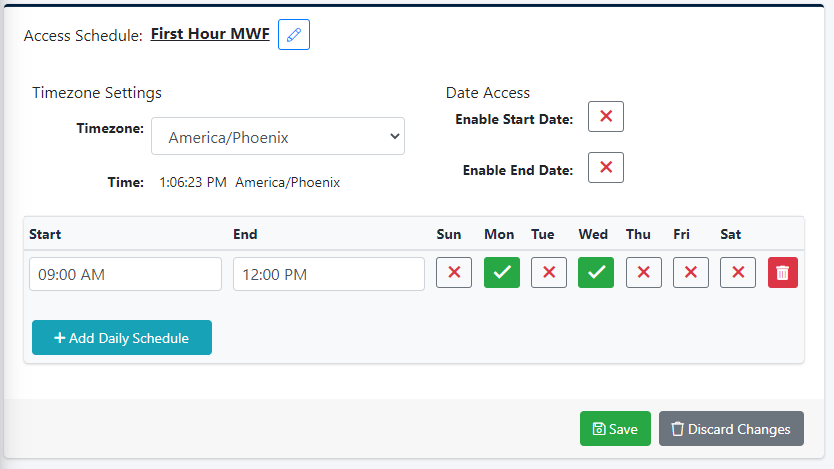
Date Access Settings: You can specify a schedule start and end date, or leave it disabled. This restricts access to the program based on the current date.
Start Date: If you specify a start date, students will not be able to access the program until that date. If you leave the start date disabled, then students can work up until the end date assuming the end date is enabled.
End Date: If you specify an end date, students will not be able to access the program after that date. If you leave the end dat disabled, then students can work from the start date on assuming the start date is enabled.
Leave Disabled? – If you leave both disabled, then there are no date restrictions on when students can access the program, and they will be able to access it on any date.
Daily Access Settings: This section allows you to specify times on specific days when students can work. If you wanted students to only be able to access the program on weekdays, you would check the boxes under M-F. In the time inputs, you would specify the times during the day you want students to be able to access the program. If you wanted literally all day, you could do 00:00 – 23:59 (times are in 24-hour format). Any days not checked means students cannot access on those days.
Multiple Settings: You can have up to 4 Daily Access Schedules. This is done to allow you to specify different times on different days when you want students to have access. One row could have Mondays and Wednesdays from 13:00-15:00, and the next row could have Tuesdays and Thursdays from 11:00-12:30. Students assigned the profile could then access the program on any of those 4 days during the week at the times specified.
Step 3: Save the New Schedule
Don’t forget to hit save! It’s the green button on the bottom right hand side of the display window. Once you click save you will be back to the window displaying all schedules. You’re done!