After logging in and selecting your class and program, you will then be brought to a page that looks like the following.
Introductions
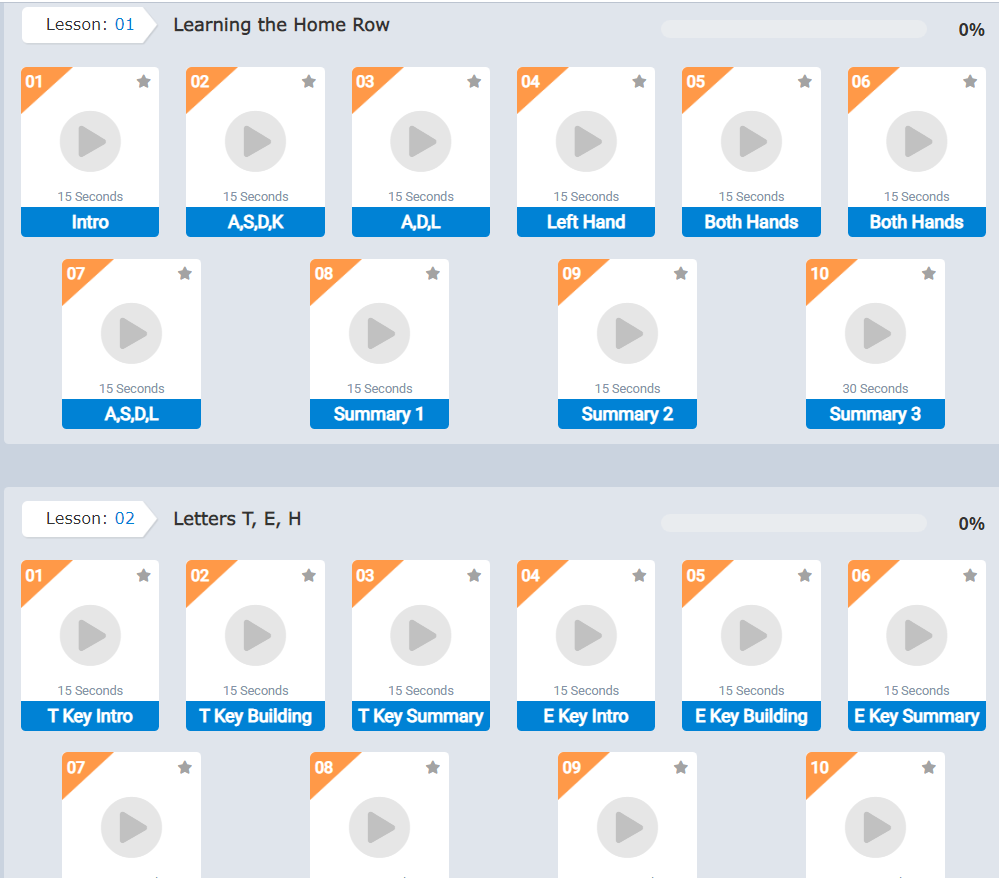
On the left hand side you’ll see all a Magnifying Glass icon. This is our quick navigation option. In this instance, the student is required to complete the Course Entry timing, before they are able to move onto the core lessons. That is why the lessons have the lock symbol on the icons.
Each lesson has 10-18 lines, or exercises. Those are located at the top of the screen under the black top menu. Just like the lessons, when the exercise is completed according to the standards detailed below the text (Errors Allowed, Minimum WPM, Scores Required) the WPM average will be displayed on the icon for that timing. The stars displayed indicate the number of scores you must have to be able to move onto the next lesson.
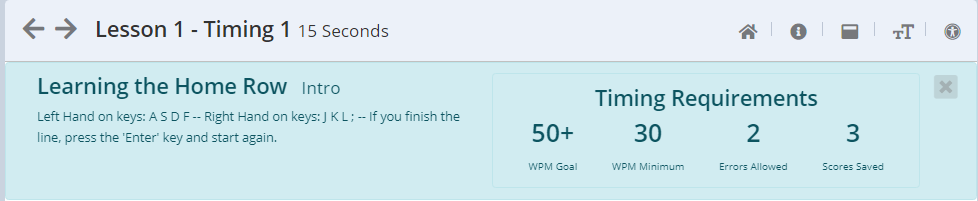
In the example above you must compete the timing with no more than 2 errors, type at least 50 WPM, and complete it at least three times.
Working on a Line
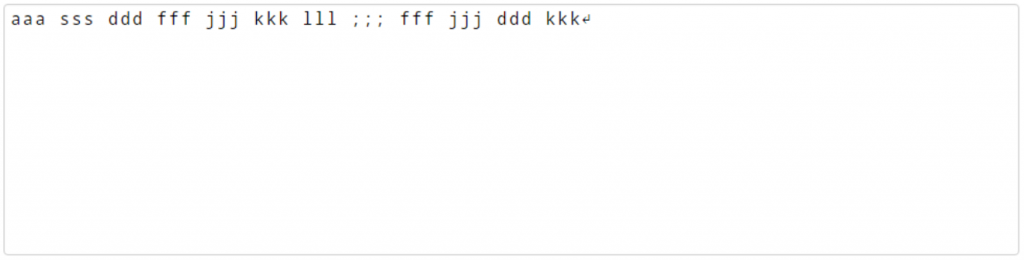
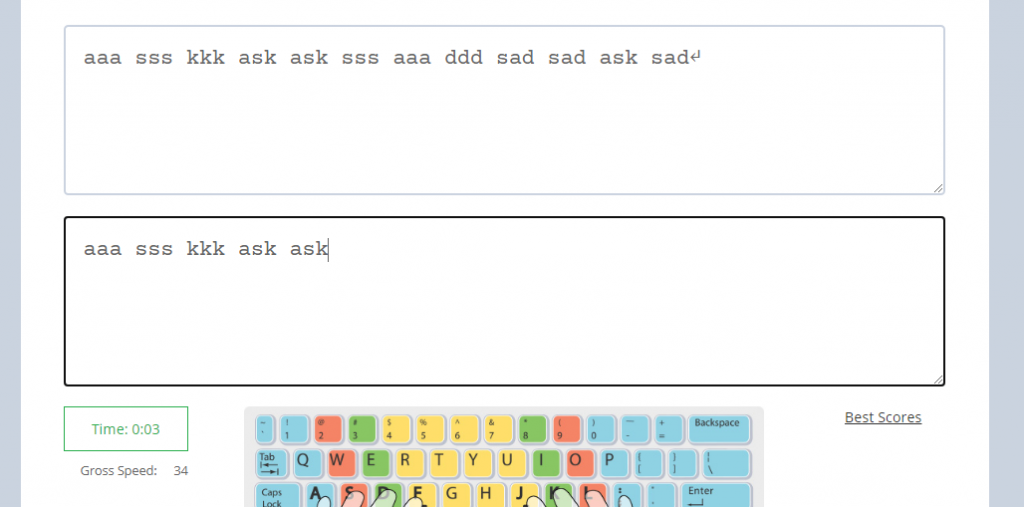
Working in the program is simple! Let us lay it out real quick for you. There are two text fields, or boxes. The one on top contains the text that you are supposed to type. It is your goal to type the line exactly as it is displayed. At the end of the line is a return symbol. When typing and you reach that point, simply hit enter and retype the line. Do that over and over again until the timer has finished.
The text box below is where you need to type the line. It will be highlighted in blue once you’ve selected it to start typing. When you start typing the timer will start automatically. The time remaining will always be displayed below. If at any point you want to restart simply click the Time Remaining button and it will reset everything for you.
If you ever want to increase or decrease the font size or adjust the font of the lines on the page you can use the Adjust Font Size and Style above the “Timing Requirements”.
You can work on a timing as much as you want. We will display your top three scores in the Best Scores section. You’ll see your speed and errors in the following format (ex. 44/3 = 44 WPM with 3 errors).
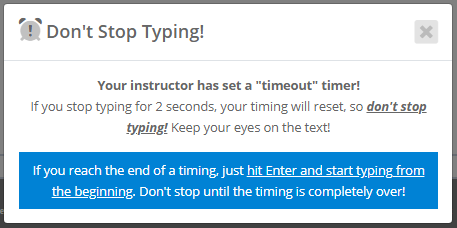
Timer Timeout
It is very possible that your instructor has enabled the Timer Timeout feature. Generally it is set to 2 or 3 seconds. How does this work? Here we go… when you start typing our program calculates the time between keystrokes. If at any time that time is greater than the Timer Timeout setting then your a popup will appear telling you that the timing was reset and you will need to restart. Just click the X or Close and you can restart on the line.
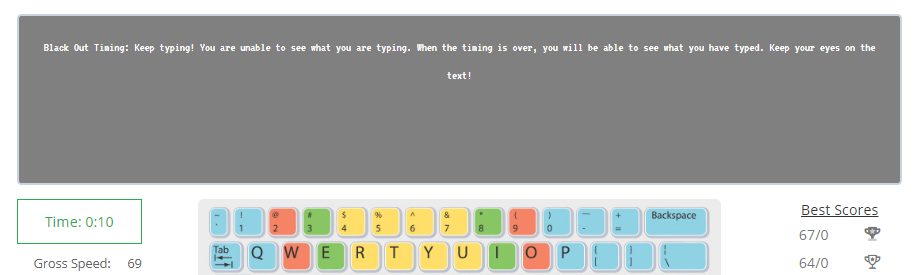
Blackout Timing View
Another patented feature we have that you will probably come across is the Blackout Timing View. It is a very simple feature that helps the students memorize the keyboard and eliminate wasted time from looking back and forth at the keyboard and screen.
Here’s how it works. As soon as you begin your exercise the text box you are typing in will “gray out.” Keep on typing! This feature basically hides what you’re typing. So instead of focusing on what you have typed, you can focus on what you need to type and selecting the correct keys.
Once the timing is finished, the text box will display everything you typed and highlight any errors if you made any.
Incomplete Exercise
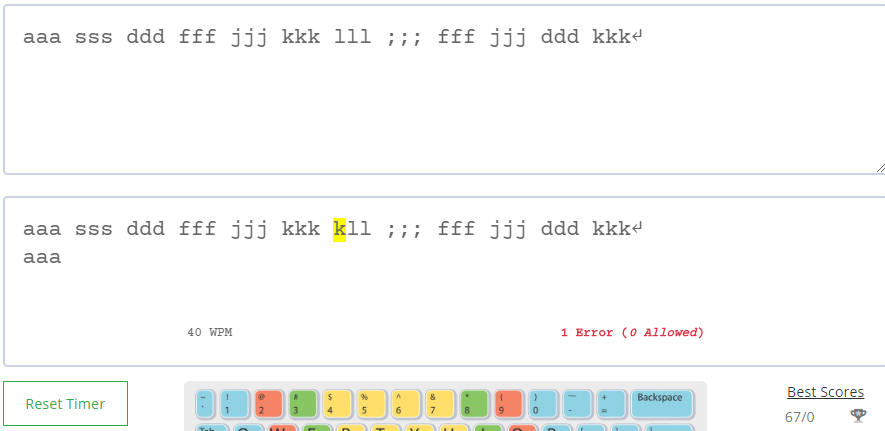
Sometimes when working on an exercise we may not meet the given requirements. In the example below were only allowed to have 0 errors, type at a minimum of 19 WPM, and successfully do this at least 1 time. It looks like this person didn’t meet the Errors Allowed requirement of 0. Each error is highlighted in yellow. Because they didn’t meet the requirements their score was not recorded and they will have to redo it.
The requirement that was not met will be highlighted in red. Notice how Errors Allowed is highlighted in red below.
If the timer has run out and you want to continue working on the same timing simply click the Time Remaining button and the timing will be reset and you can start again.
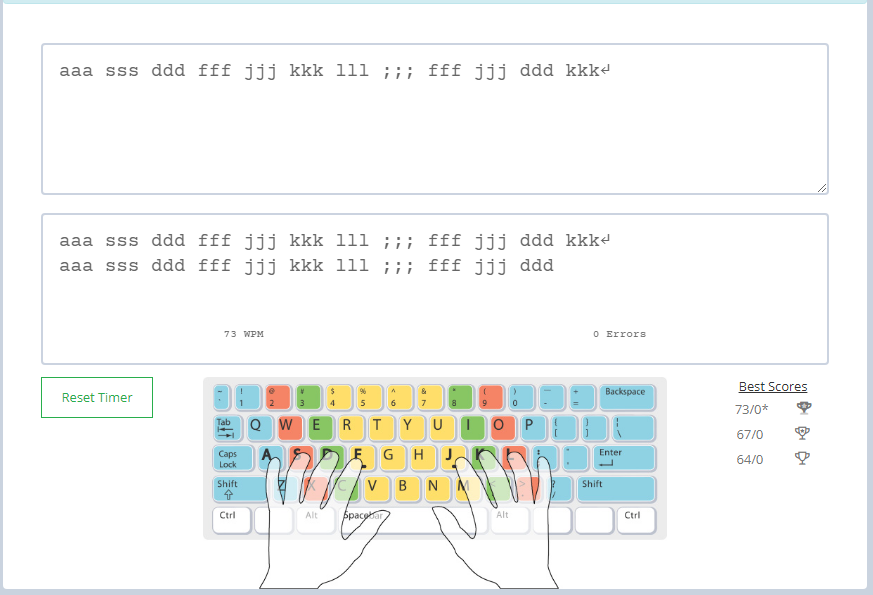
Successfully Completed Exercise
Below is a screenshot of a successfully completed exercise. If you want to continue working on the same timing click the Reset Timing button, or if you want to move on to the next exercise click Right Arrow button near the top.
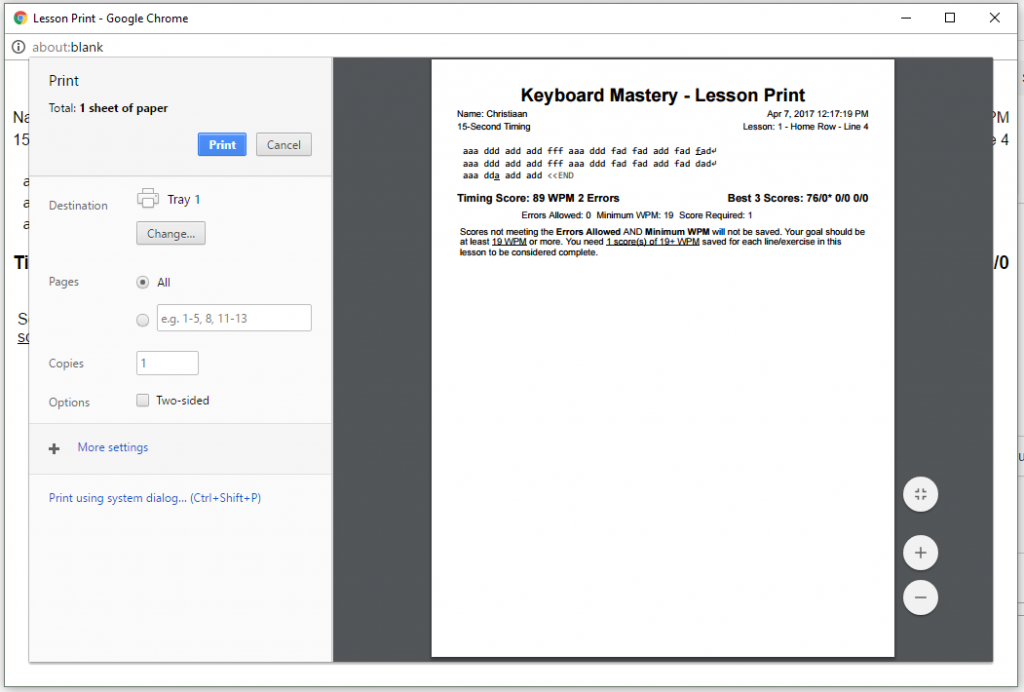
Print the Exercise
If you want to print the exercise simply click the Print button below the text box. Follow the printing instructions of whatever browser you may be using. In the example below we are using Google Chrome.