The beginning of the semester can be stressful! This checklist should assist in making the start a little smoother.
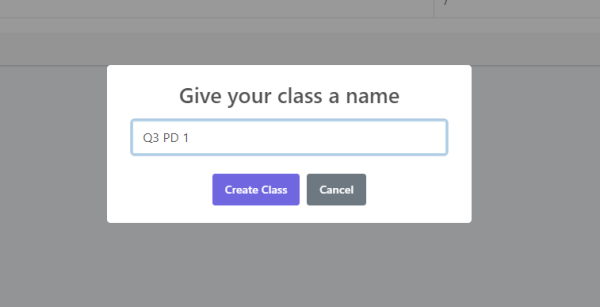
1: Create your Class while in the teacher manager.
Select Classes, and then select Create New Class in the top right, and give it a name.
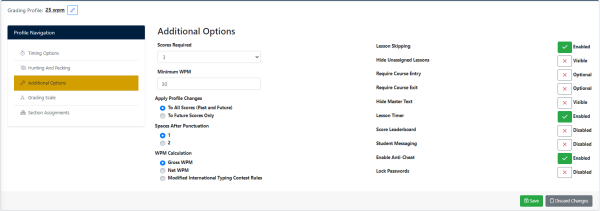
2: Create a Grading Profile to assign to your students. The grading profile will determine the difficulty of the program for the students as well as which lessons are assigned to the students.
Select Grading Profiles in the teacher manager, and then select Create New Profile. You will need to give the profile a name(ex. 45WPM) If you need assistance with the grading profile and what every means, you can check this detailed guide on our Grading Profiles.
If you are wanting to use Student Self Registration, skip to step 4
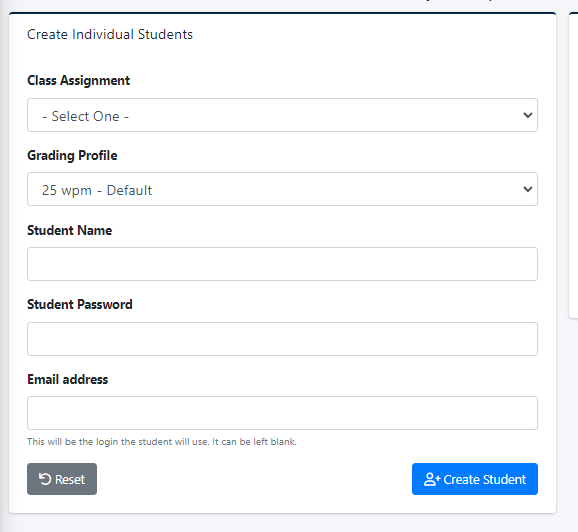
3: If you are creating your students manually(no sync) select Users, and then select Create Students. Here you will assign their class, grading profile name and password. If no email is provided, we will generate a username for the student to use to log in.
After you select Create Student, the student file is created, assigned to your class, and to your Grading Profile. The students may now begin their Keyboarding!
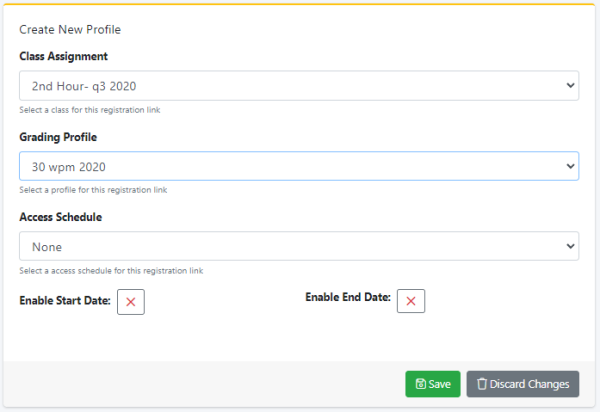
4: If you would rather have your students Self Register for the course instead of creating each student manually you can create a Self Registration link that you can send to the students to register and create their own accounts.
Select Users within the Teacher Manager, and select Student Self-Registration. Then select Create Registration Link. Once there you will be able to assign a class and Grading Profile to the link. Once you click save, you can then send the link to your students to register for your class and begin their work.
If you aren’t using a 3rd Party Class Sync, you will want to send your students their login information.
Select Instructor Tools and then select Print/Email Certificates.
Once there select the class you would like to send login information for, and then select the students you would like to send. Once the students are selected, select Email Individual Logins to email the login information out. Or you can print the login information out, to pass out to your students.